One of the first cooking challenges I took on in the last year was making Chinese pineapple buns or “bolo bao”. Sylvia and the kids really love them, and a recipe was recommended to me by someone at work, so I gave it a shot early in the pandemic. These delicious baked goods will be the subject of another post.
However this got me thinking about the Chinese pastries that I like the most and high on that list is the Chinese egg tart that many of you may be familiar with from dim sum. Another reason I wanted to try making these other than their scrumptiousness is that I have an allergic reaction to eggs unless they are antibiotic free. (Unusual, yes, but now well proven by experience.) So as a lover of all things egg, I tend to indulge in egg more at home than eating out since it’s not as common to find organic or antibiotic free eggs in restaurants still.
What has been holding me back from trying this recipe to date has been the fact that I especially like the ones that come in the puff pastry and I knew enough about baking (from say, our family’s love of The Great Canadian Baking Show) to know that puff pastry was not the easiest thing to bake. But with pandemic holiday vacation coming to a close, it was time to give it a shot!
I cannot take any credit for the recipe I followed for the egg tarts, so this post is all about the hacks I used to pull this off as a newbie (or “noob” as the kids say) baker and the overall experience. TL;DR give it a shot!
Like Oil and Water
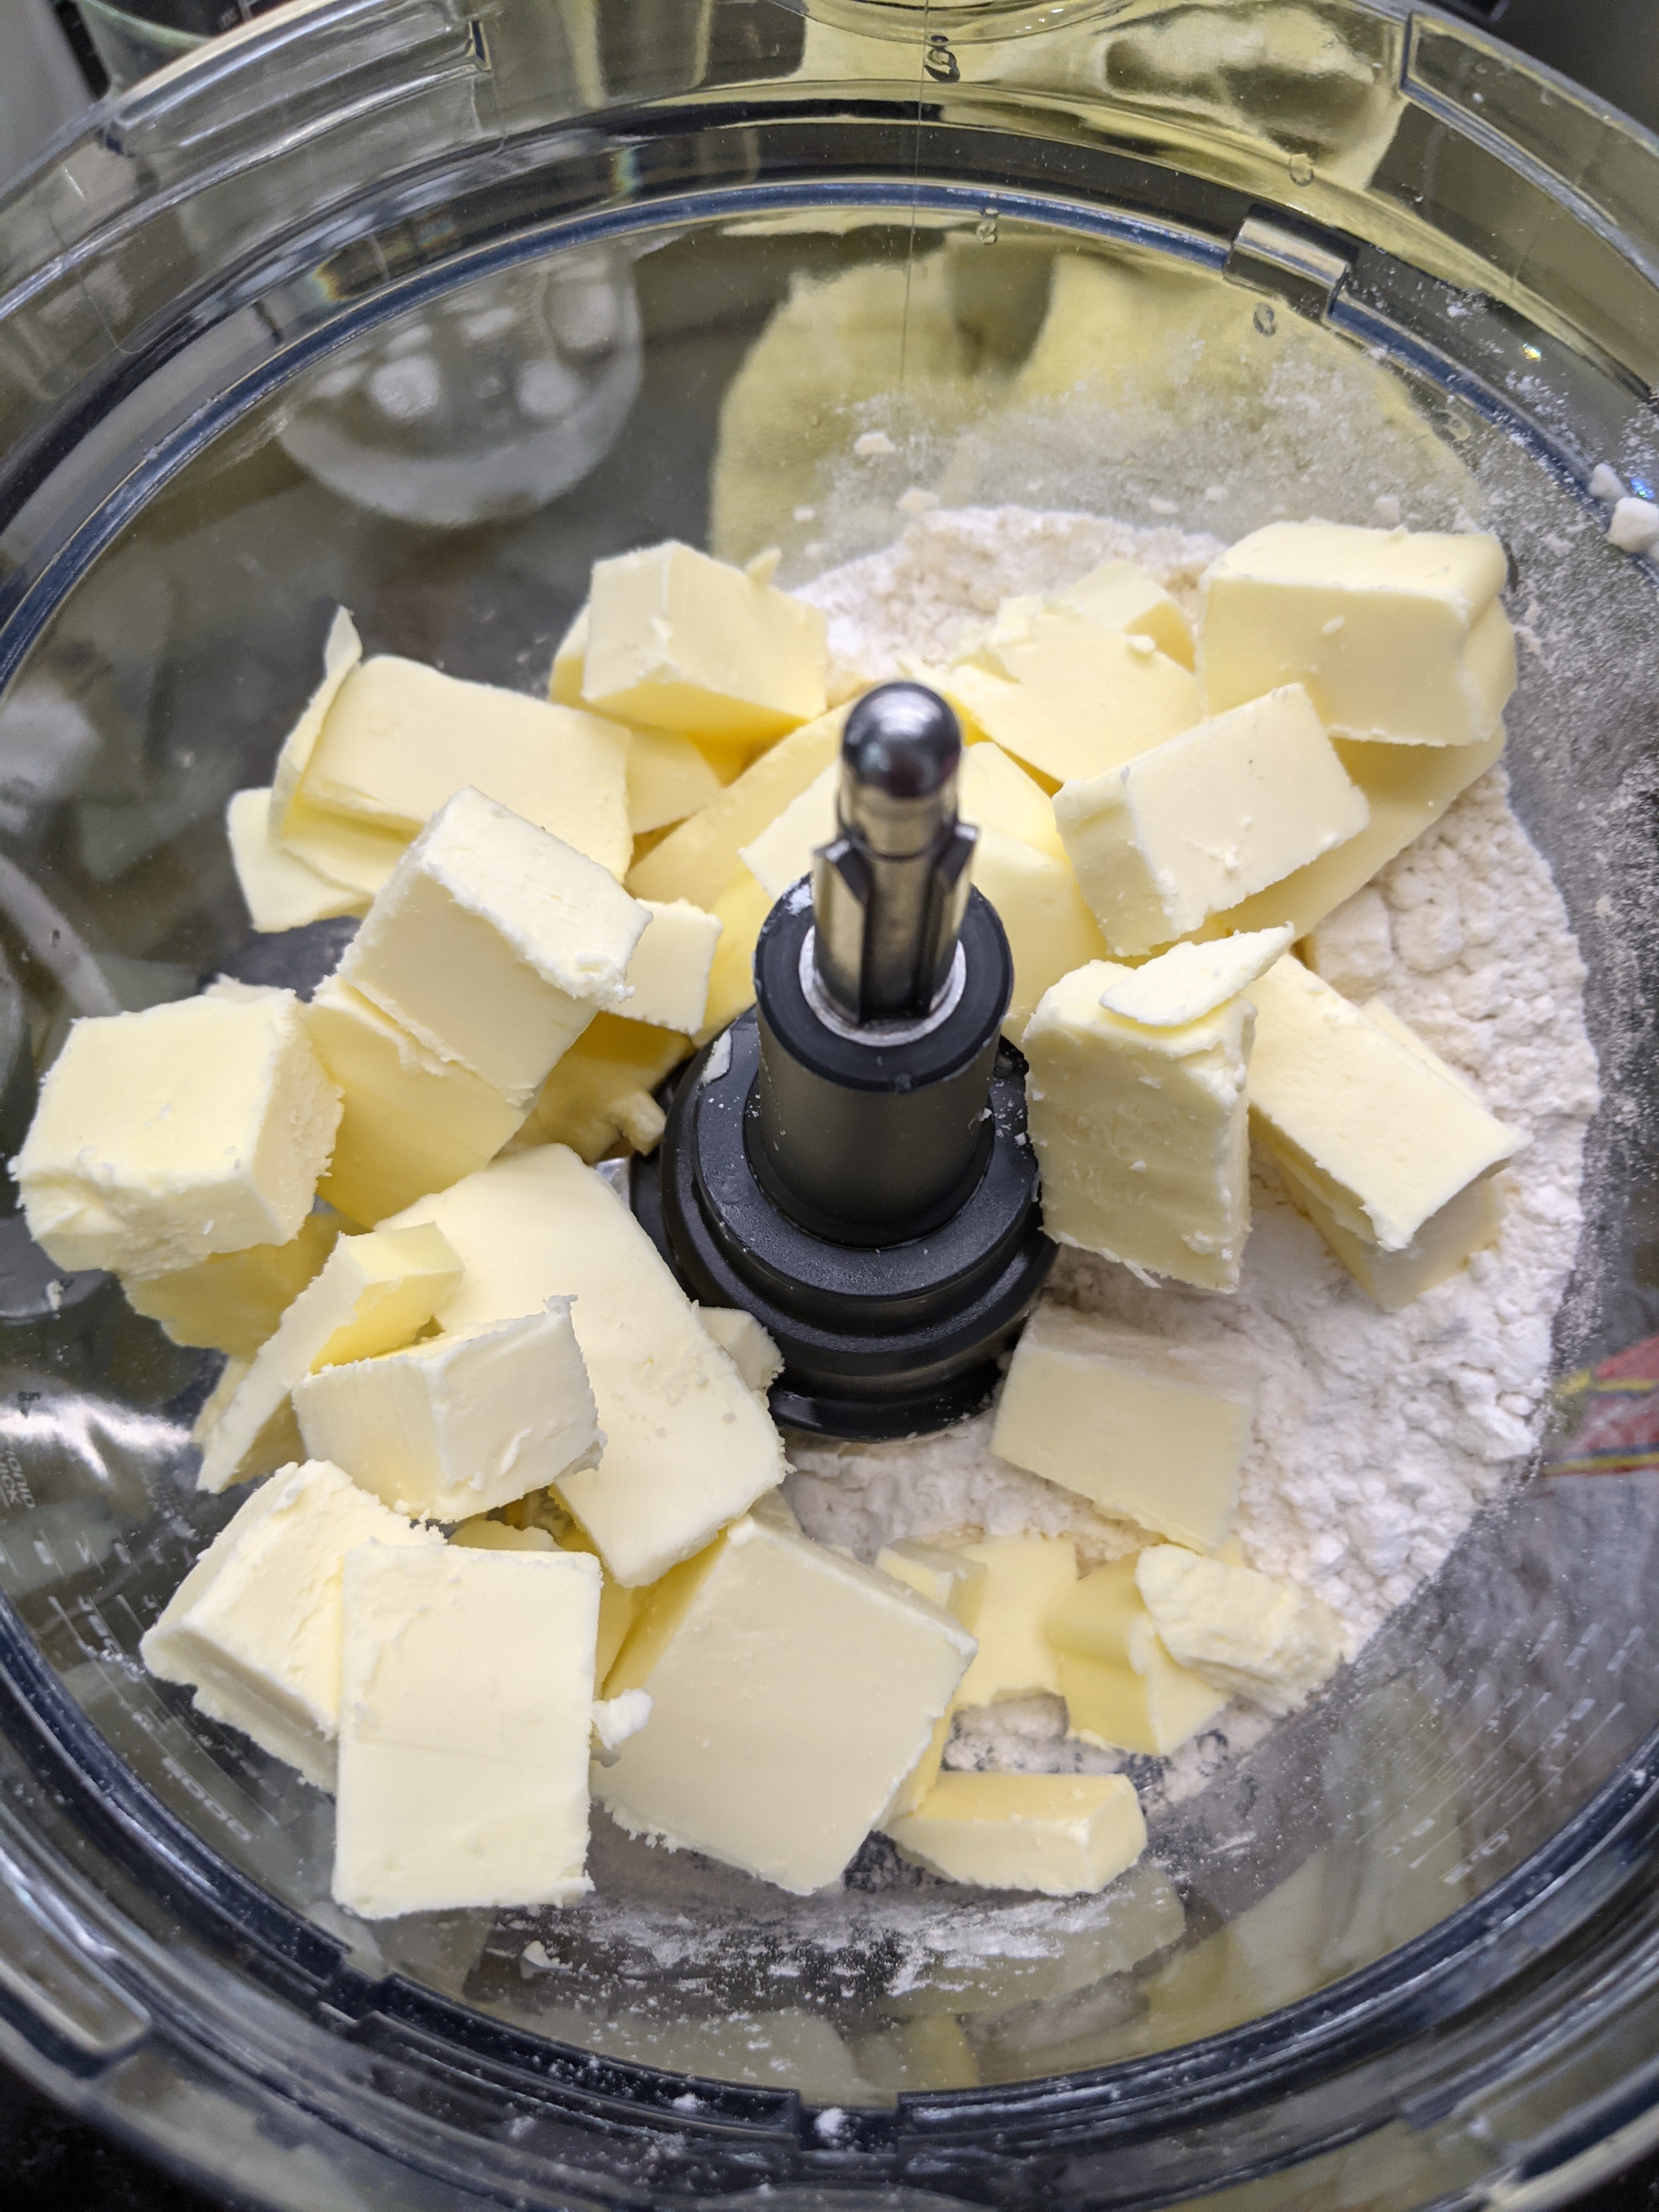
The principle behind making puff pastry is basically having layers of oil and water dough sandwiched between each other. This is what causes the puffing and layering during the baking. The challenge with working with oil pastry is that there is so much butter in it that if it’s too warm then it just leaks out all over the place and causes a big mess. Here’s a look at how much butter goes into 12 egg tarts according to the recipe. It’s a lot.
So it’s all about keeping it cool. This became my obsession with the recipe. I find this recipe a little bit challenging to follow with me having to jump between the steps, the tips, and the video at the top to properly understand how to pull it off.
I decided to make the water dough first, even though it’s listed second in the recipe so that it is all ready to go when the oil dough is done. My oil dough was definitely not as stringy, soft, and yellow as in the main recipe, so I was worried that I had done something wrong, but I had weighed out everything carefully, so ultimately, I concluded that perhaps my butter was just more cold than what was used in the video. I think there was something else different, and if I ever figure it out, I’ll update this post about it. Things worked out pretty well, so it’s possible that everything I did was fine.
The recipe mentions that you can reduce the amount of oil dough if you want to make it easier to work with. I actually cut the oil dough volume by half because of how off hard and voluminous it seemed relative to the water dough. I figured I could use an easier time for my first time. I think next time I will use more oil dough and see how much more flakey the shells get. In the meantime, I have oil dough frozen and ready to go for next time.
Keeping Cool
In the video in the recipe, the dough looks like it is getting rolled out on one of those professional metal countertops that can be cooled. It seems like you can cool a stone counter-top for a similar effect, but with my obsession with keeping it cool, I decided to roll on top of a large baking tray that I would keep cool in my sink with ice and ice packs. Like this.
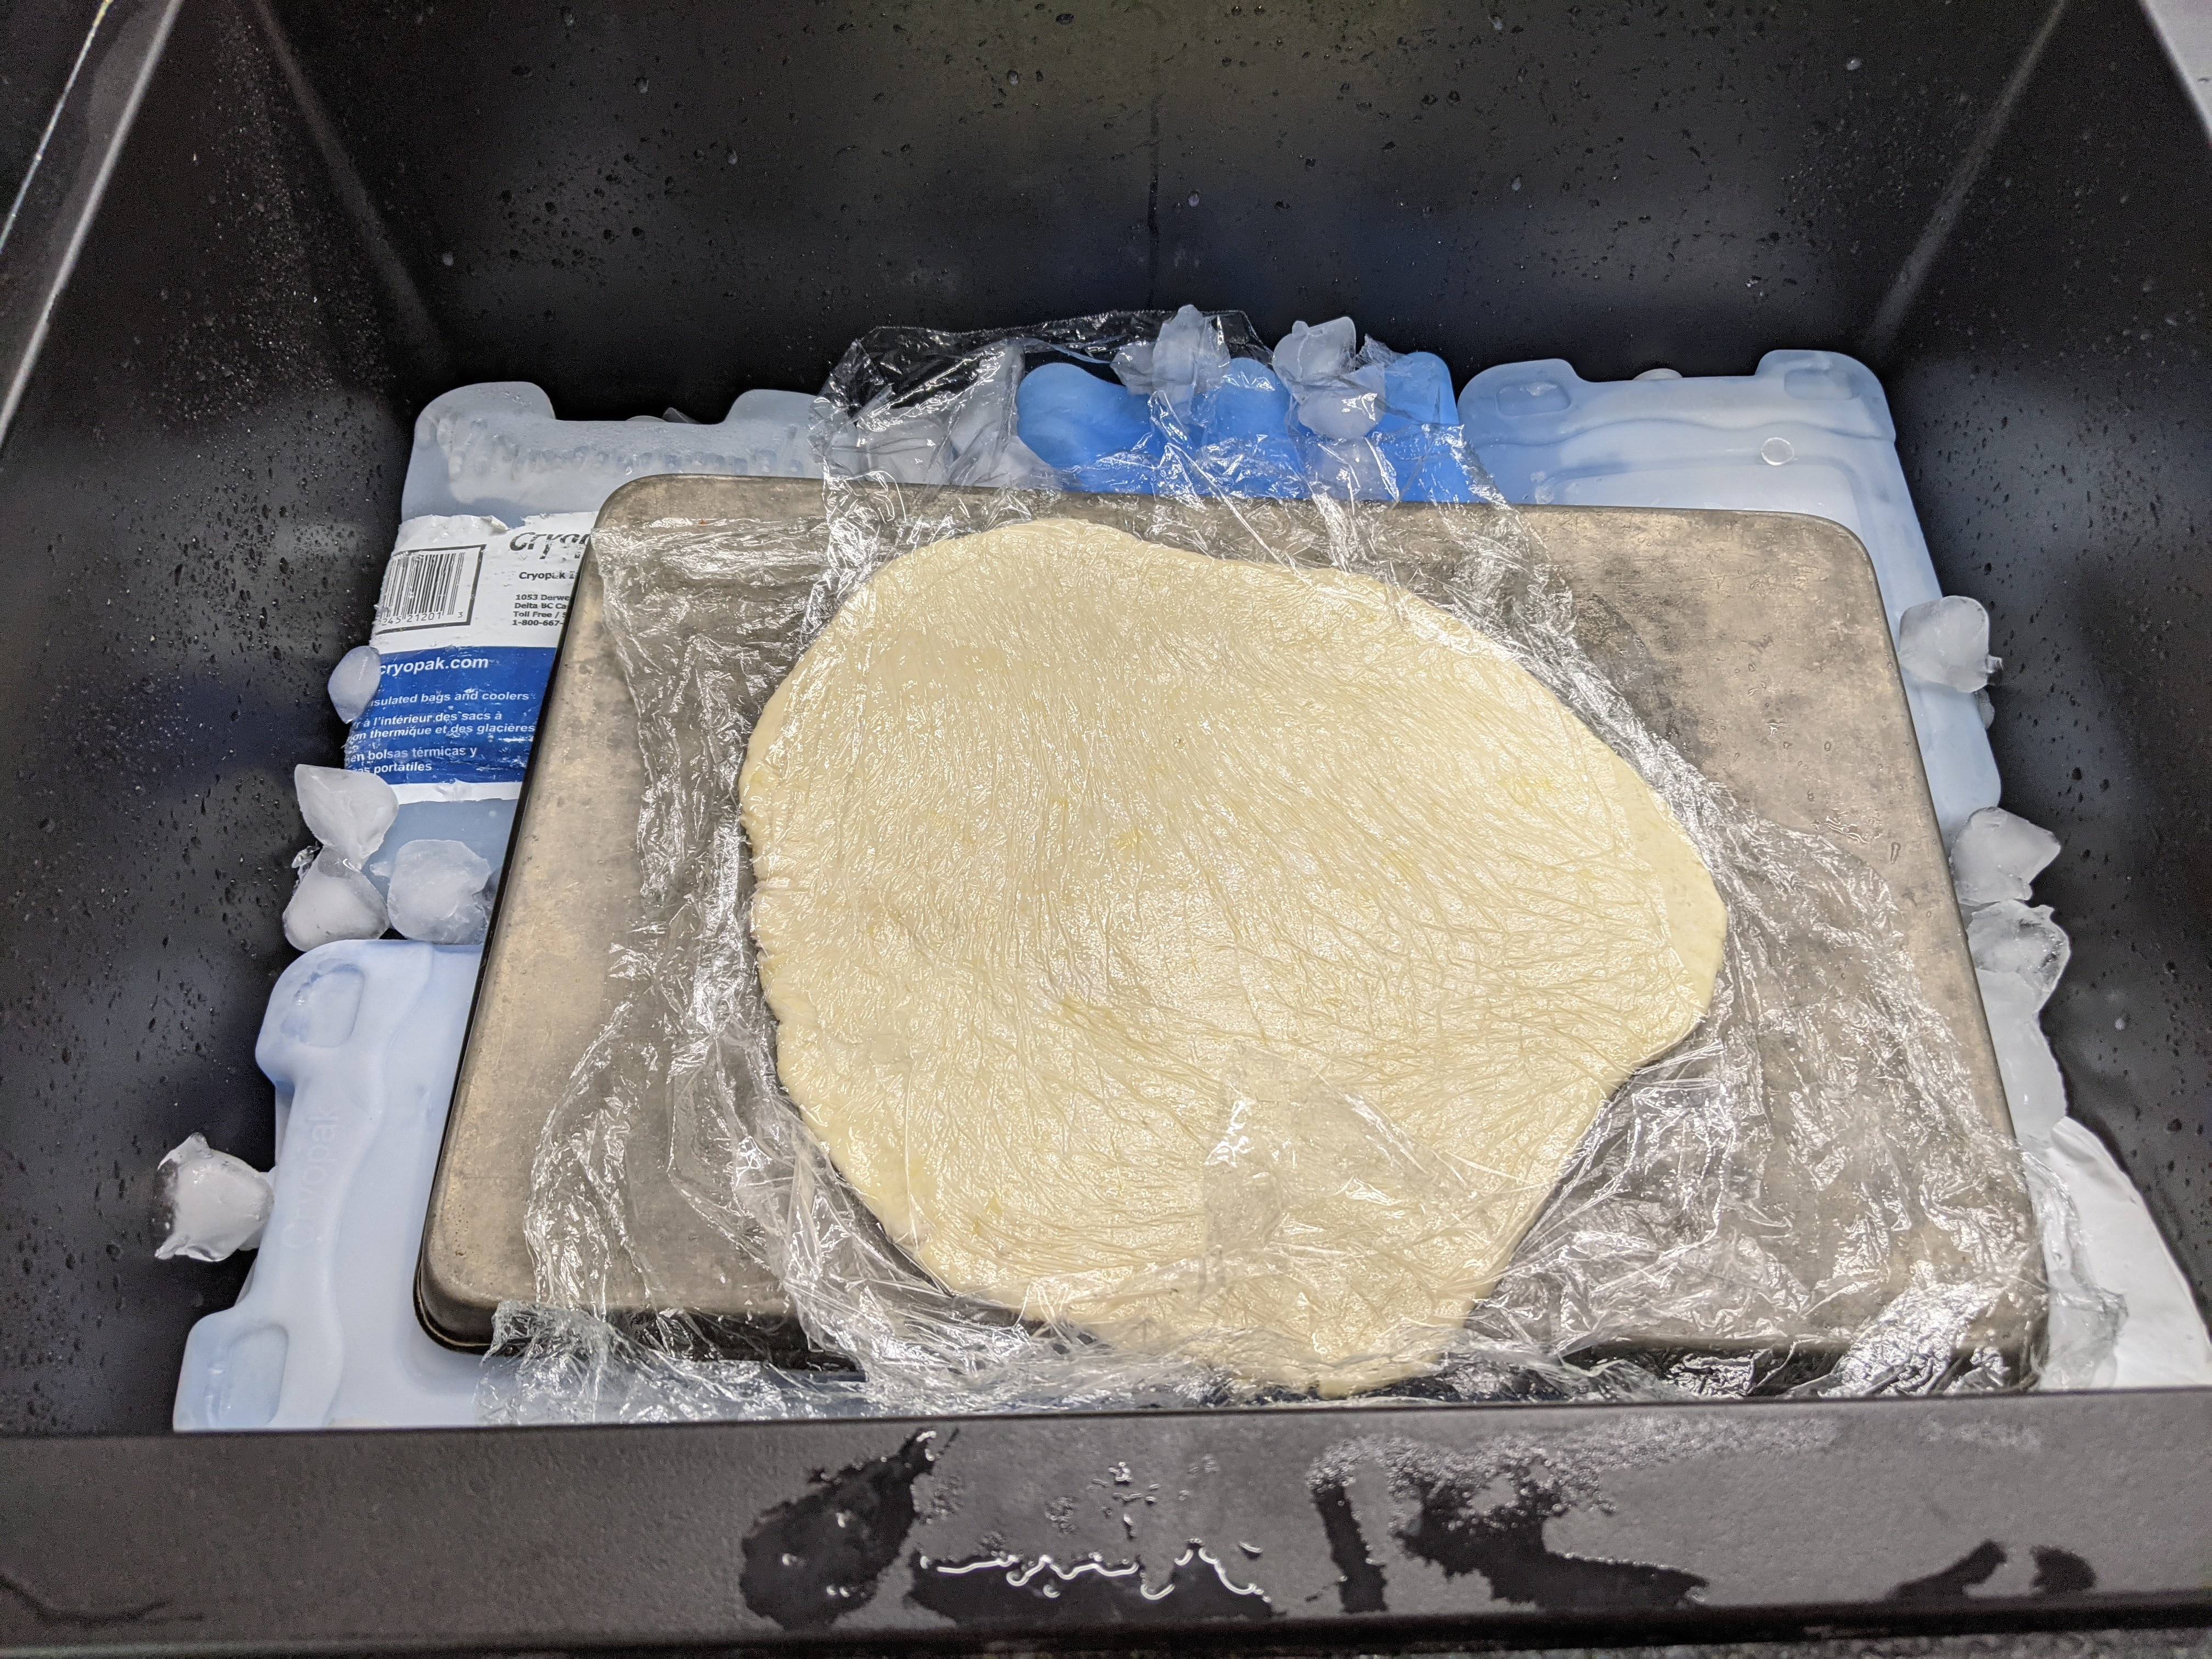
It worked quite well and if you had more space than I do in the freezer, you could probably just keep sliding it in there and then bringing it back out.
Like a Rolling Circle
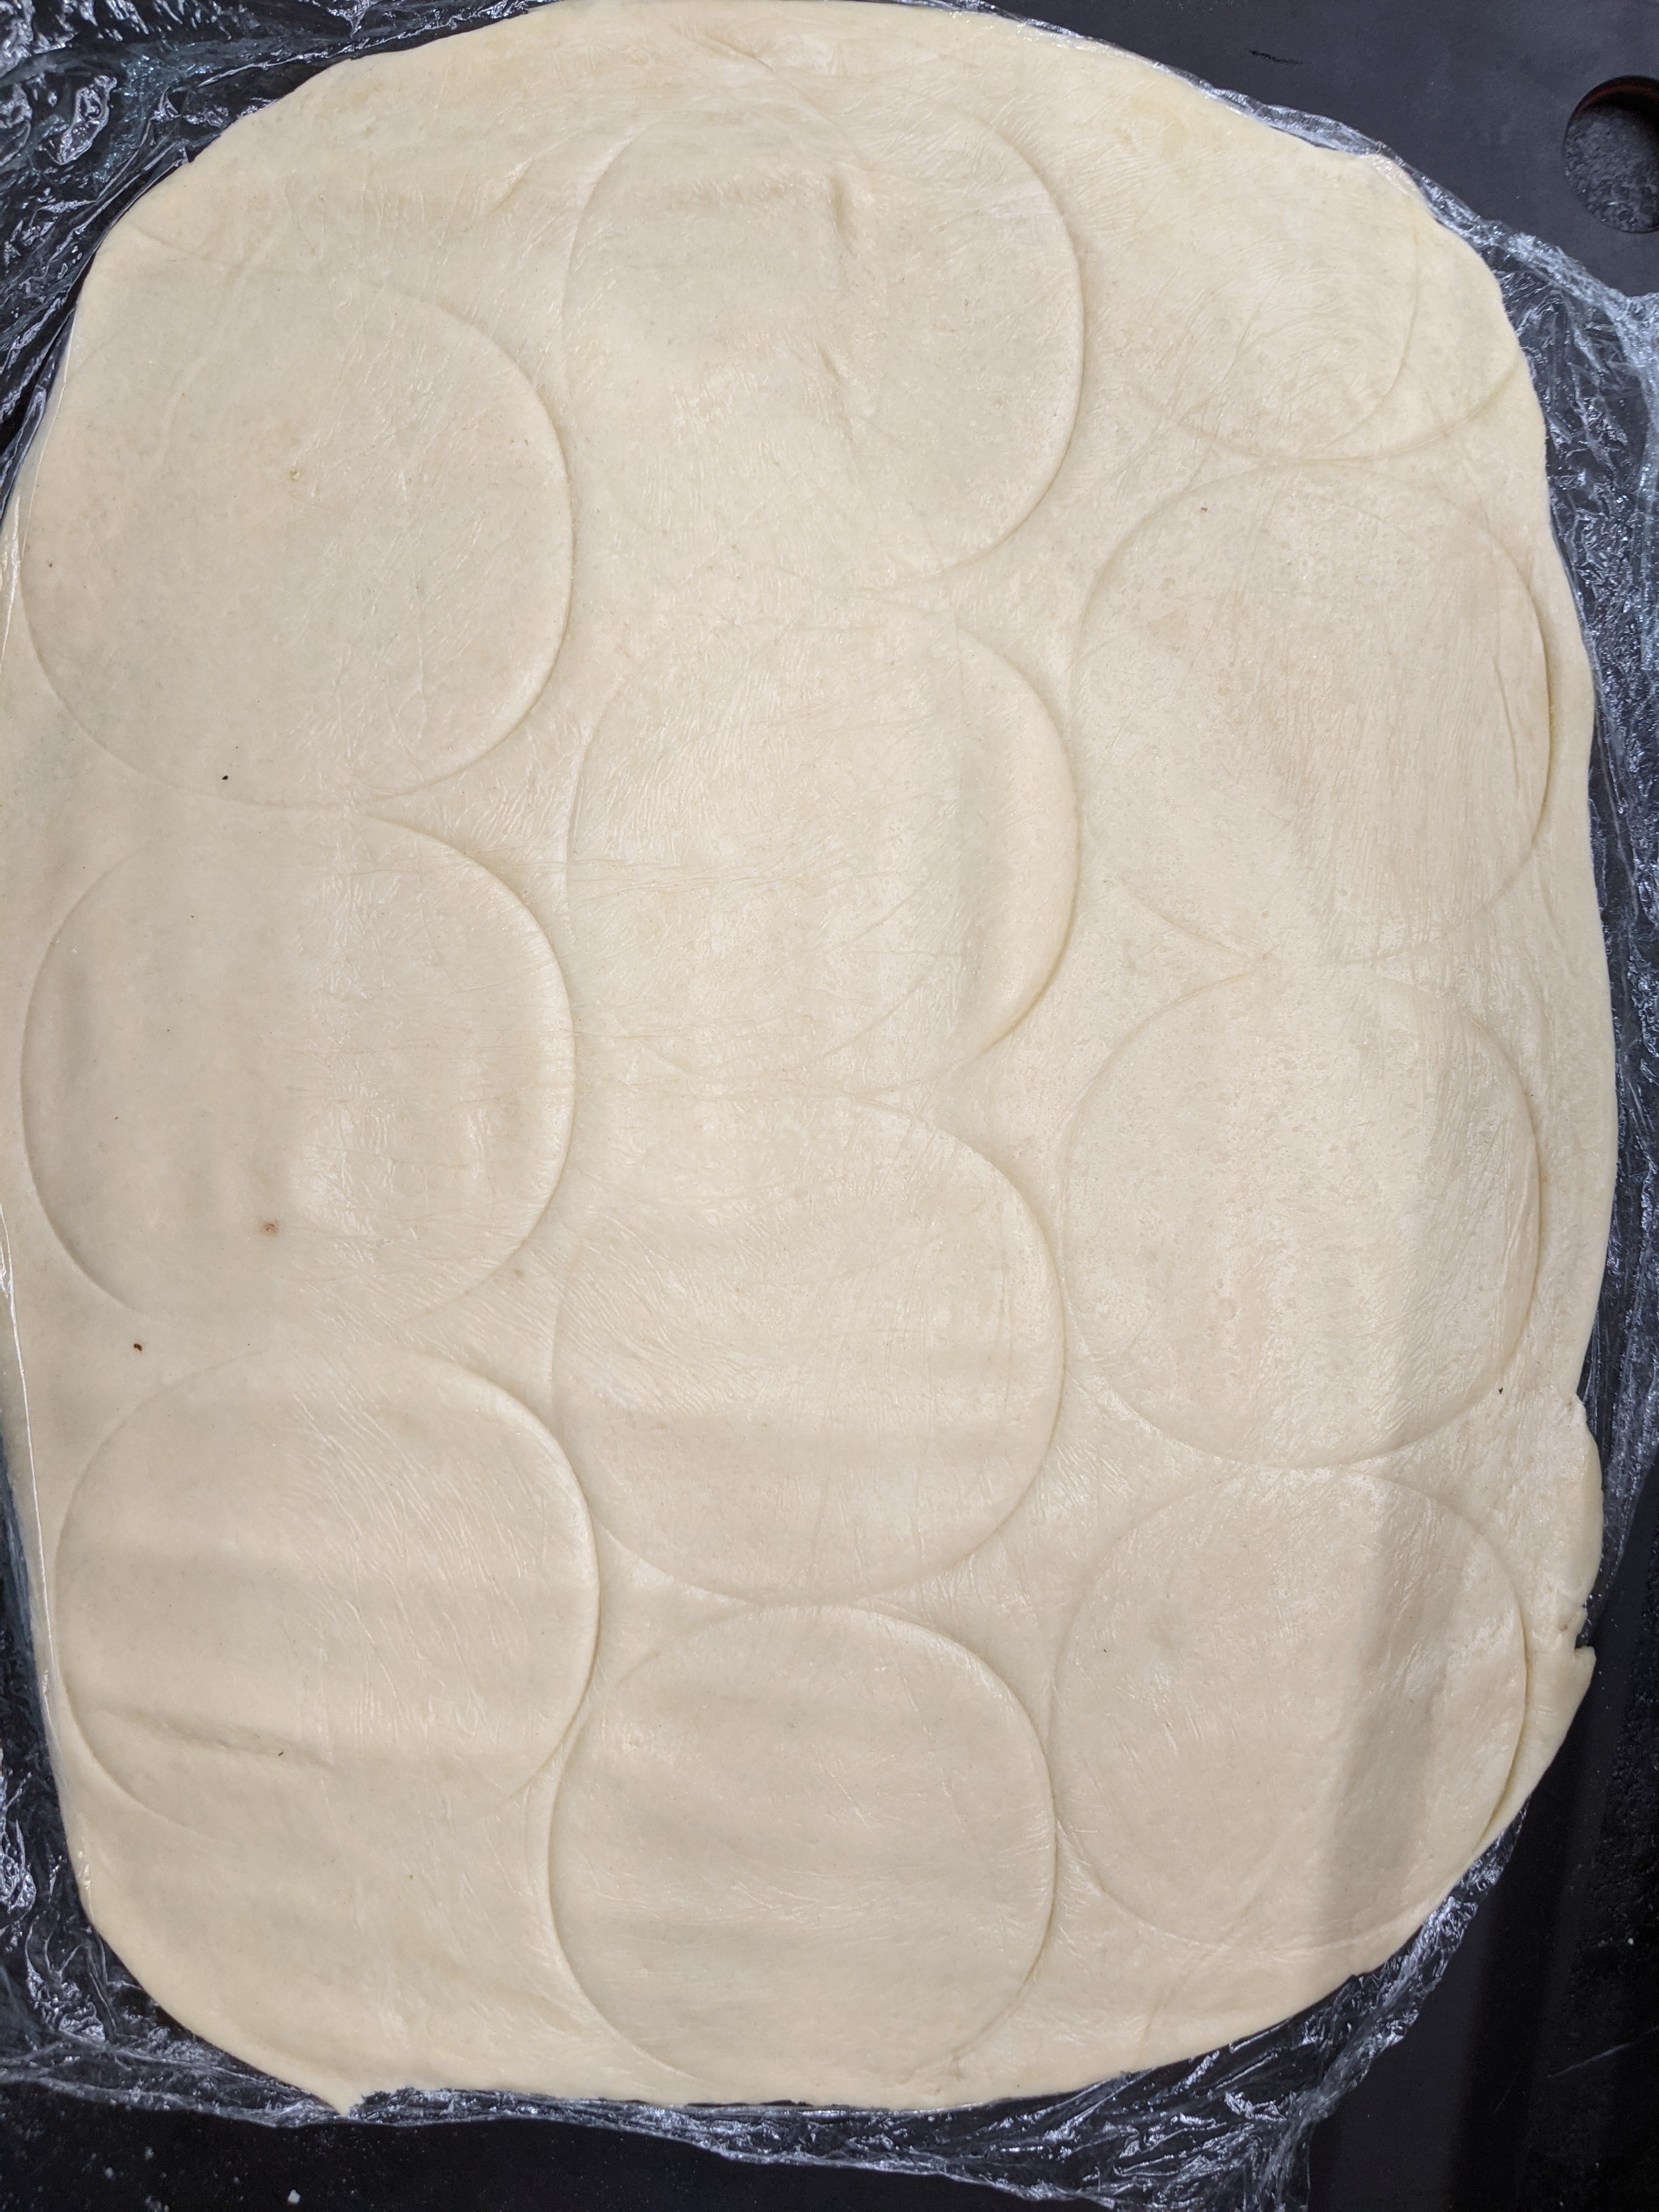
One suggestion that I would add to the recipe is that you should try to plan ahead how you are going to cut out all of your circles for the tarts. I realized a bit late in the game that if I didn’t get the dough into the right shape I wouldn’t be able to fit in enough circles. I reduced my expected number of tarts down a bit because I had taken out half of the oil dough which made things more challenging but I still managed to get 12. After cutting them out in the shape below using a rolling dough cutting tool that Syl got me for Christmas, I folded up the leftover dough and flattened another piece of dough to roll two more circles. It seems I made the dough thin enough that I could do this. I wasn’t sure how they would turn out but they were indistinguishable from the others actually.
Bursting my Bubble
I also wanted to get the nice shiny surface of the egg tart that gives it that professional look, so I wanted to make sure there were no bubbles. I did the double filtering that the recipe called for, and then broke out one of the more unusual kitchen tools that I have, a gravy fat separator. When making gravy, it means you can pour from the bottom of the gravy because the fat floats at the surface. It also has an extra sieve at the top for filtering out food bits from gravy. I figured the same thing could be done for egg tarts: sift out the bubbles, and pour from the bottom. It worked great, although the pouring was a bit sloppier when you are trying to do it precisely into each of the tarts. A great solution if you are really making a lot of tarts, but probably overkill for making a dozen. I might not do this again next time and just use a spoon.

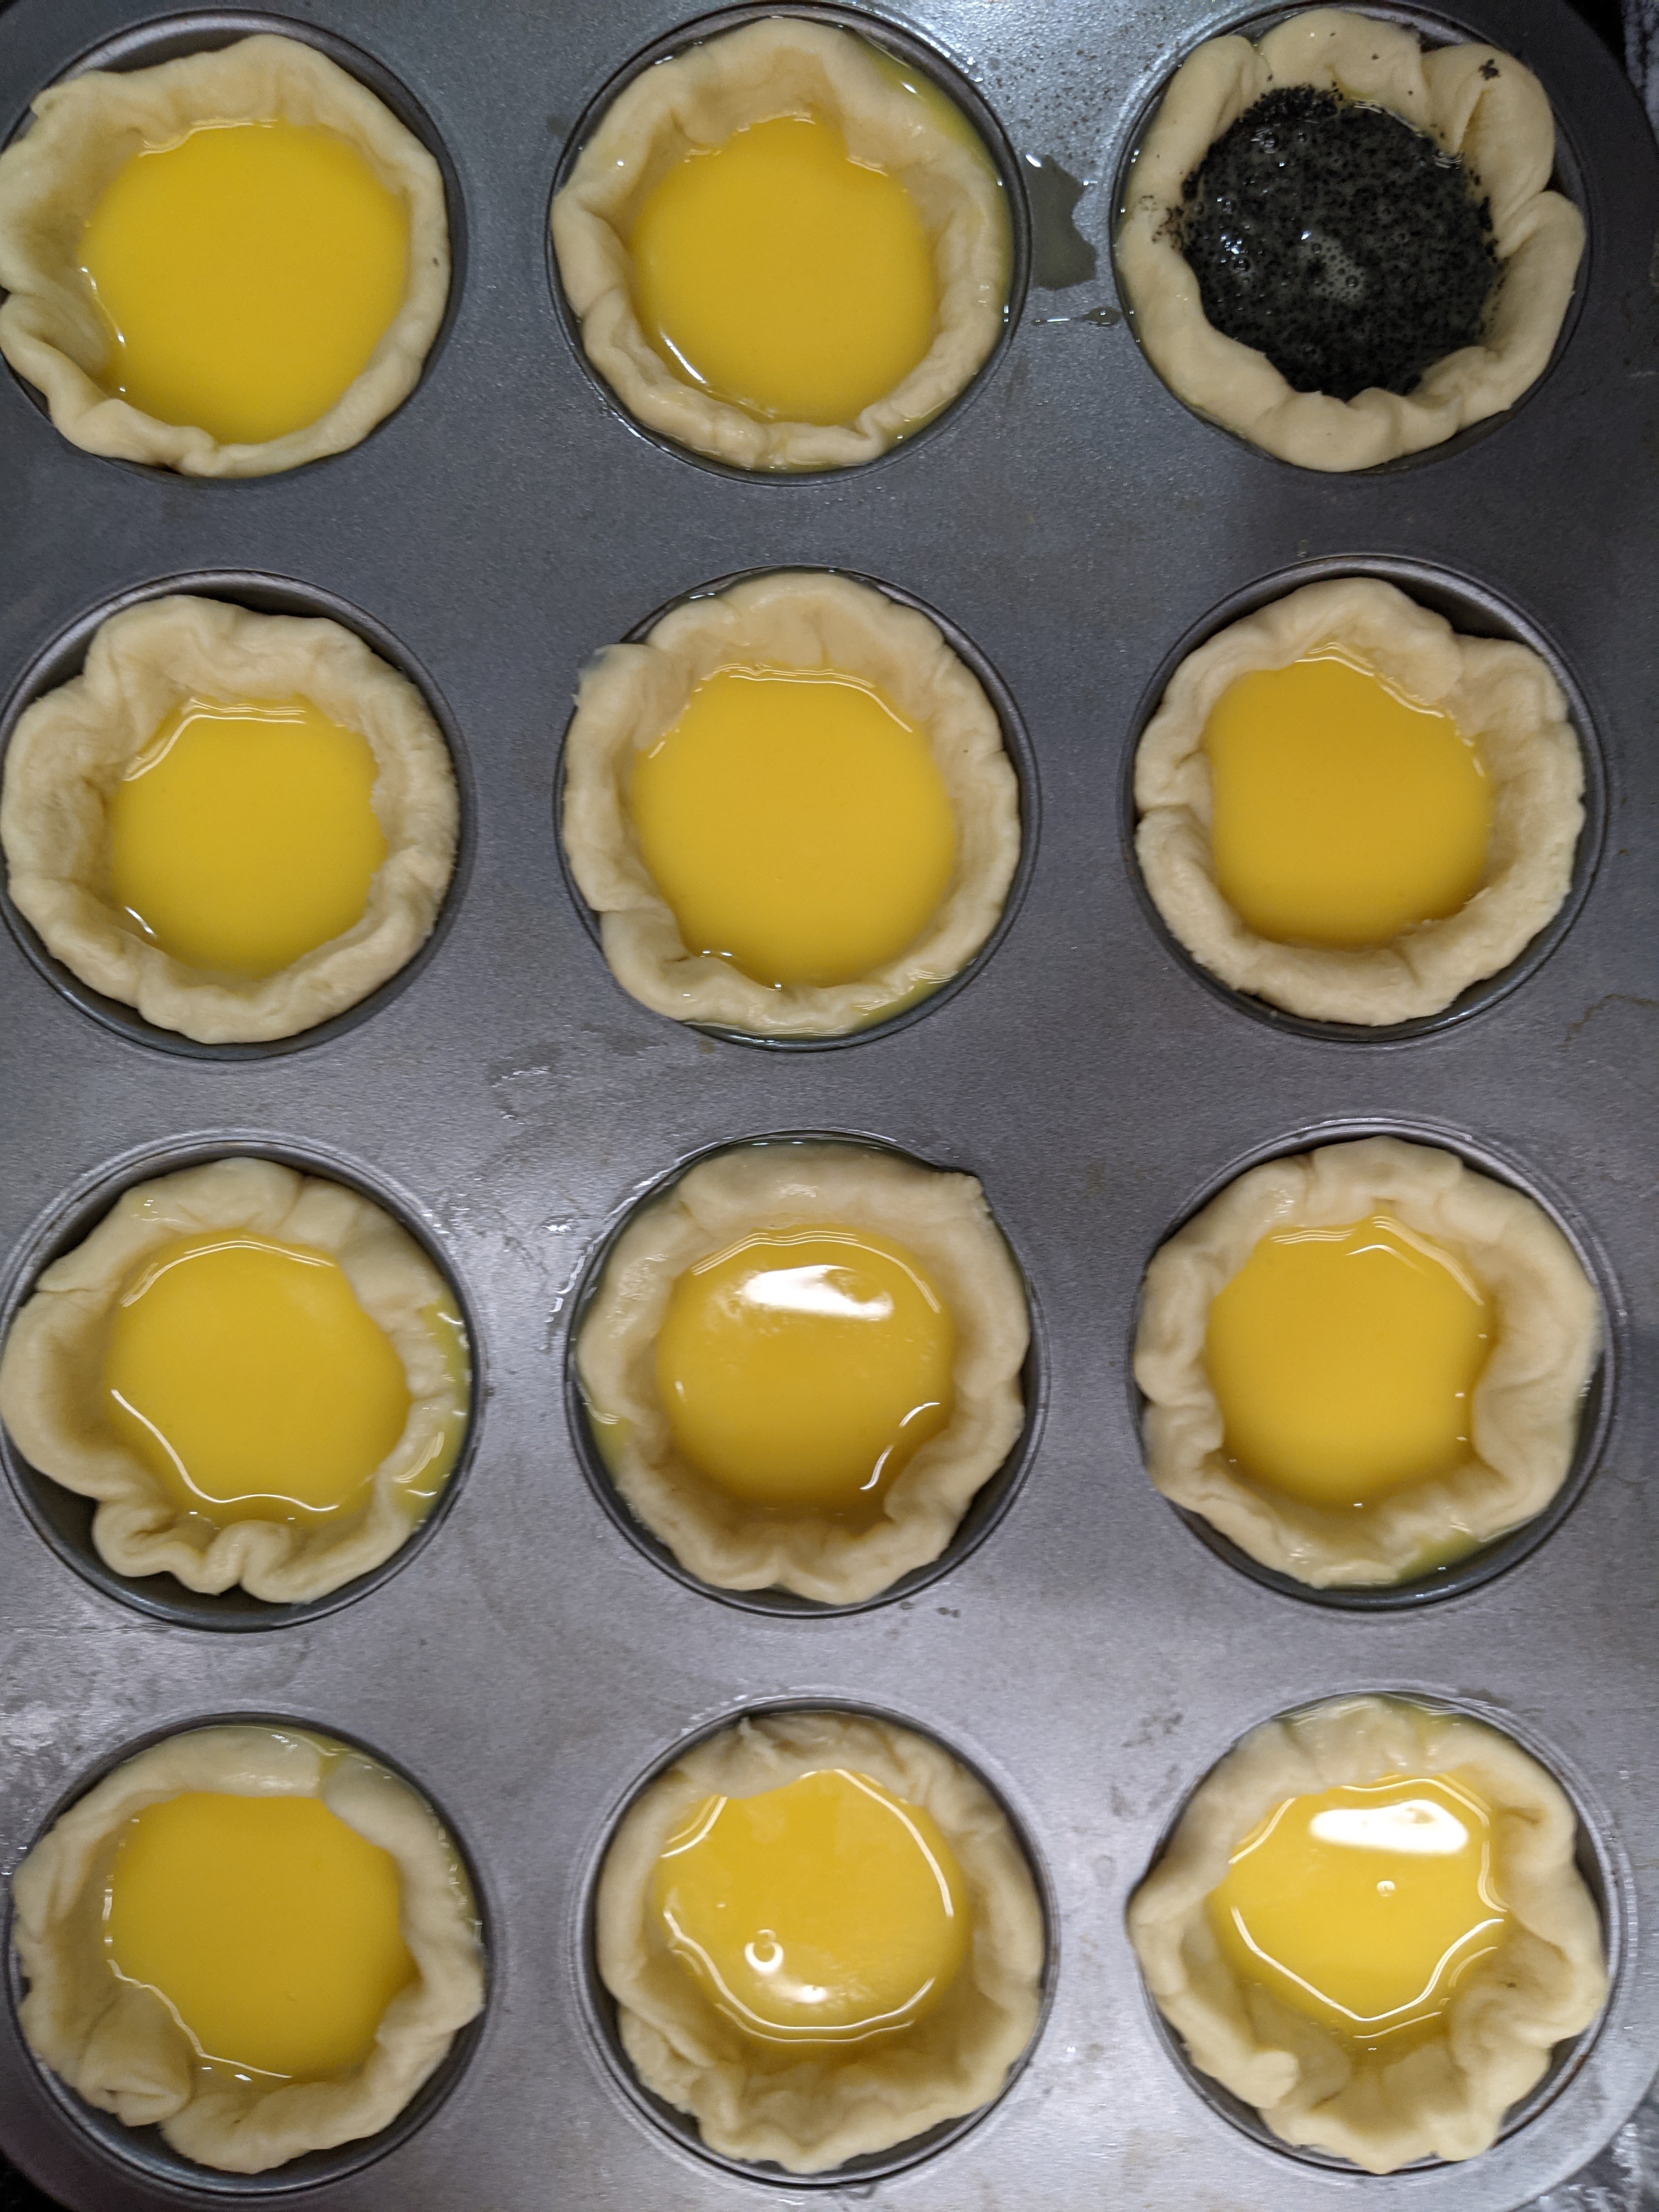
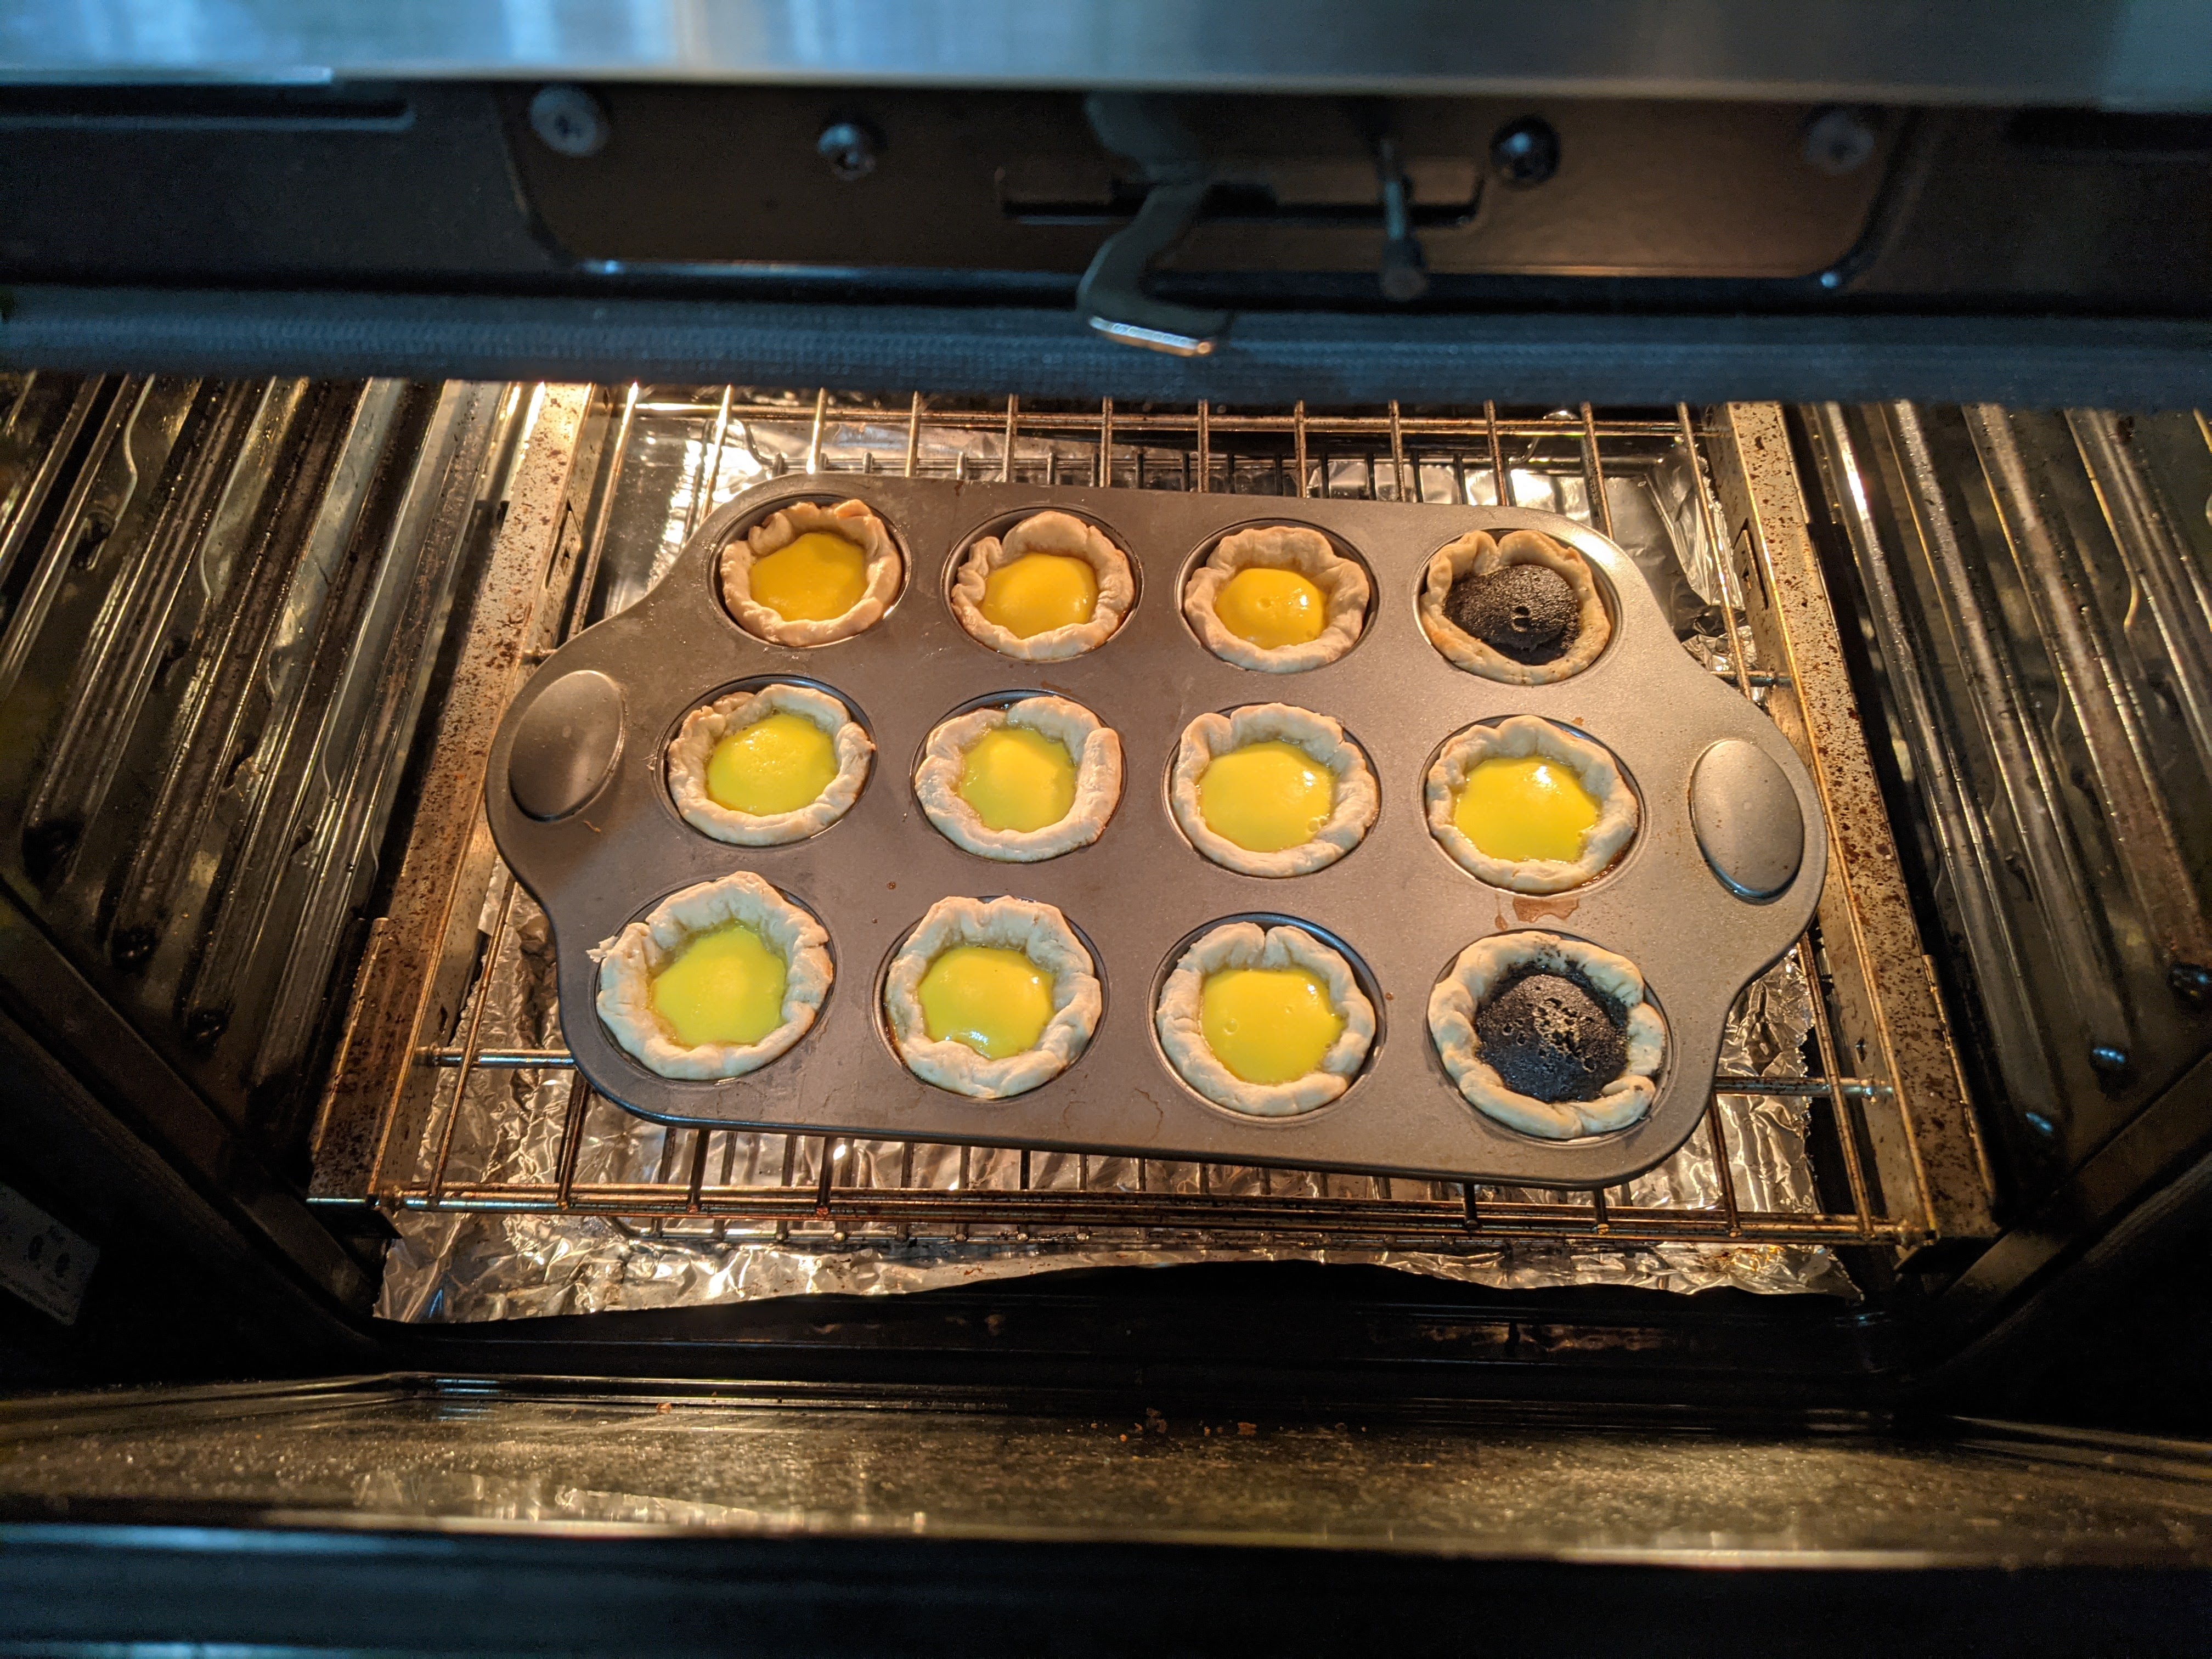
Open Sesame
I didn’t have 12 little tart molds, so I used a muffin tin. They turned out fine so I don’t think you need the tart molds if you are just eating these at home. As I prepared to stick the filled tarts into the oven, Syl breezed by and said that we had to add black sesame to some of them because she’d heard about this, but it’s rare and it sounds delicious. So she busted out her bag of black sesame and stirred some into a couple of the egg tart fillings as a last minute experiment. What could possibly go wrong with butter, egg, and black sesame? Nothing! She also lent her hand to the extra dough and made a puff pastry Totoro*. Because who wouldn’t want that too?
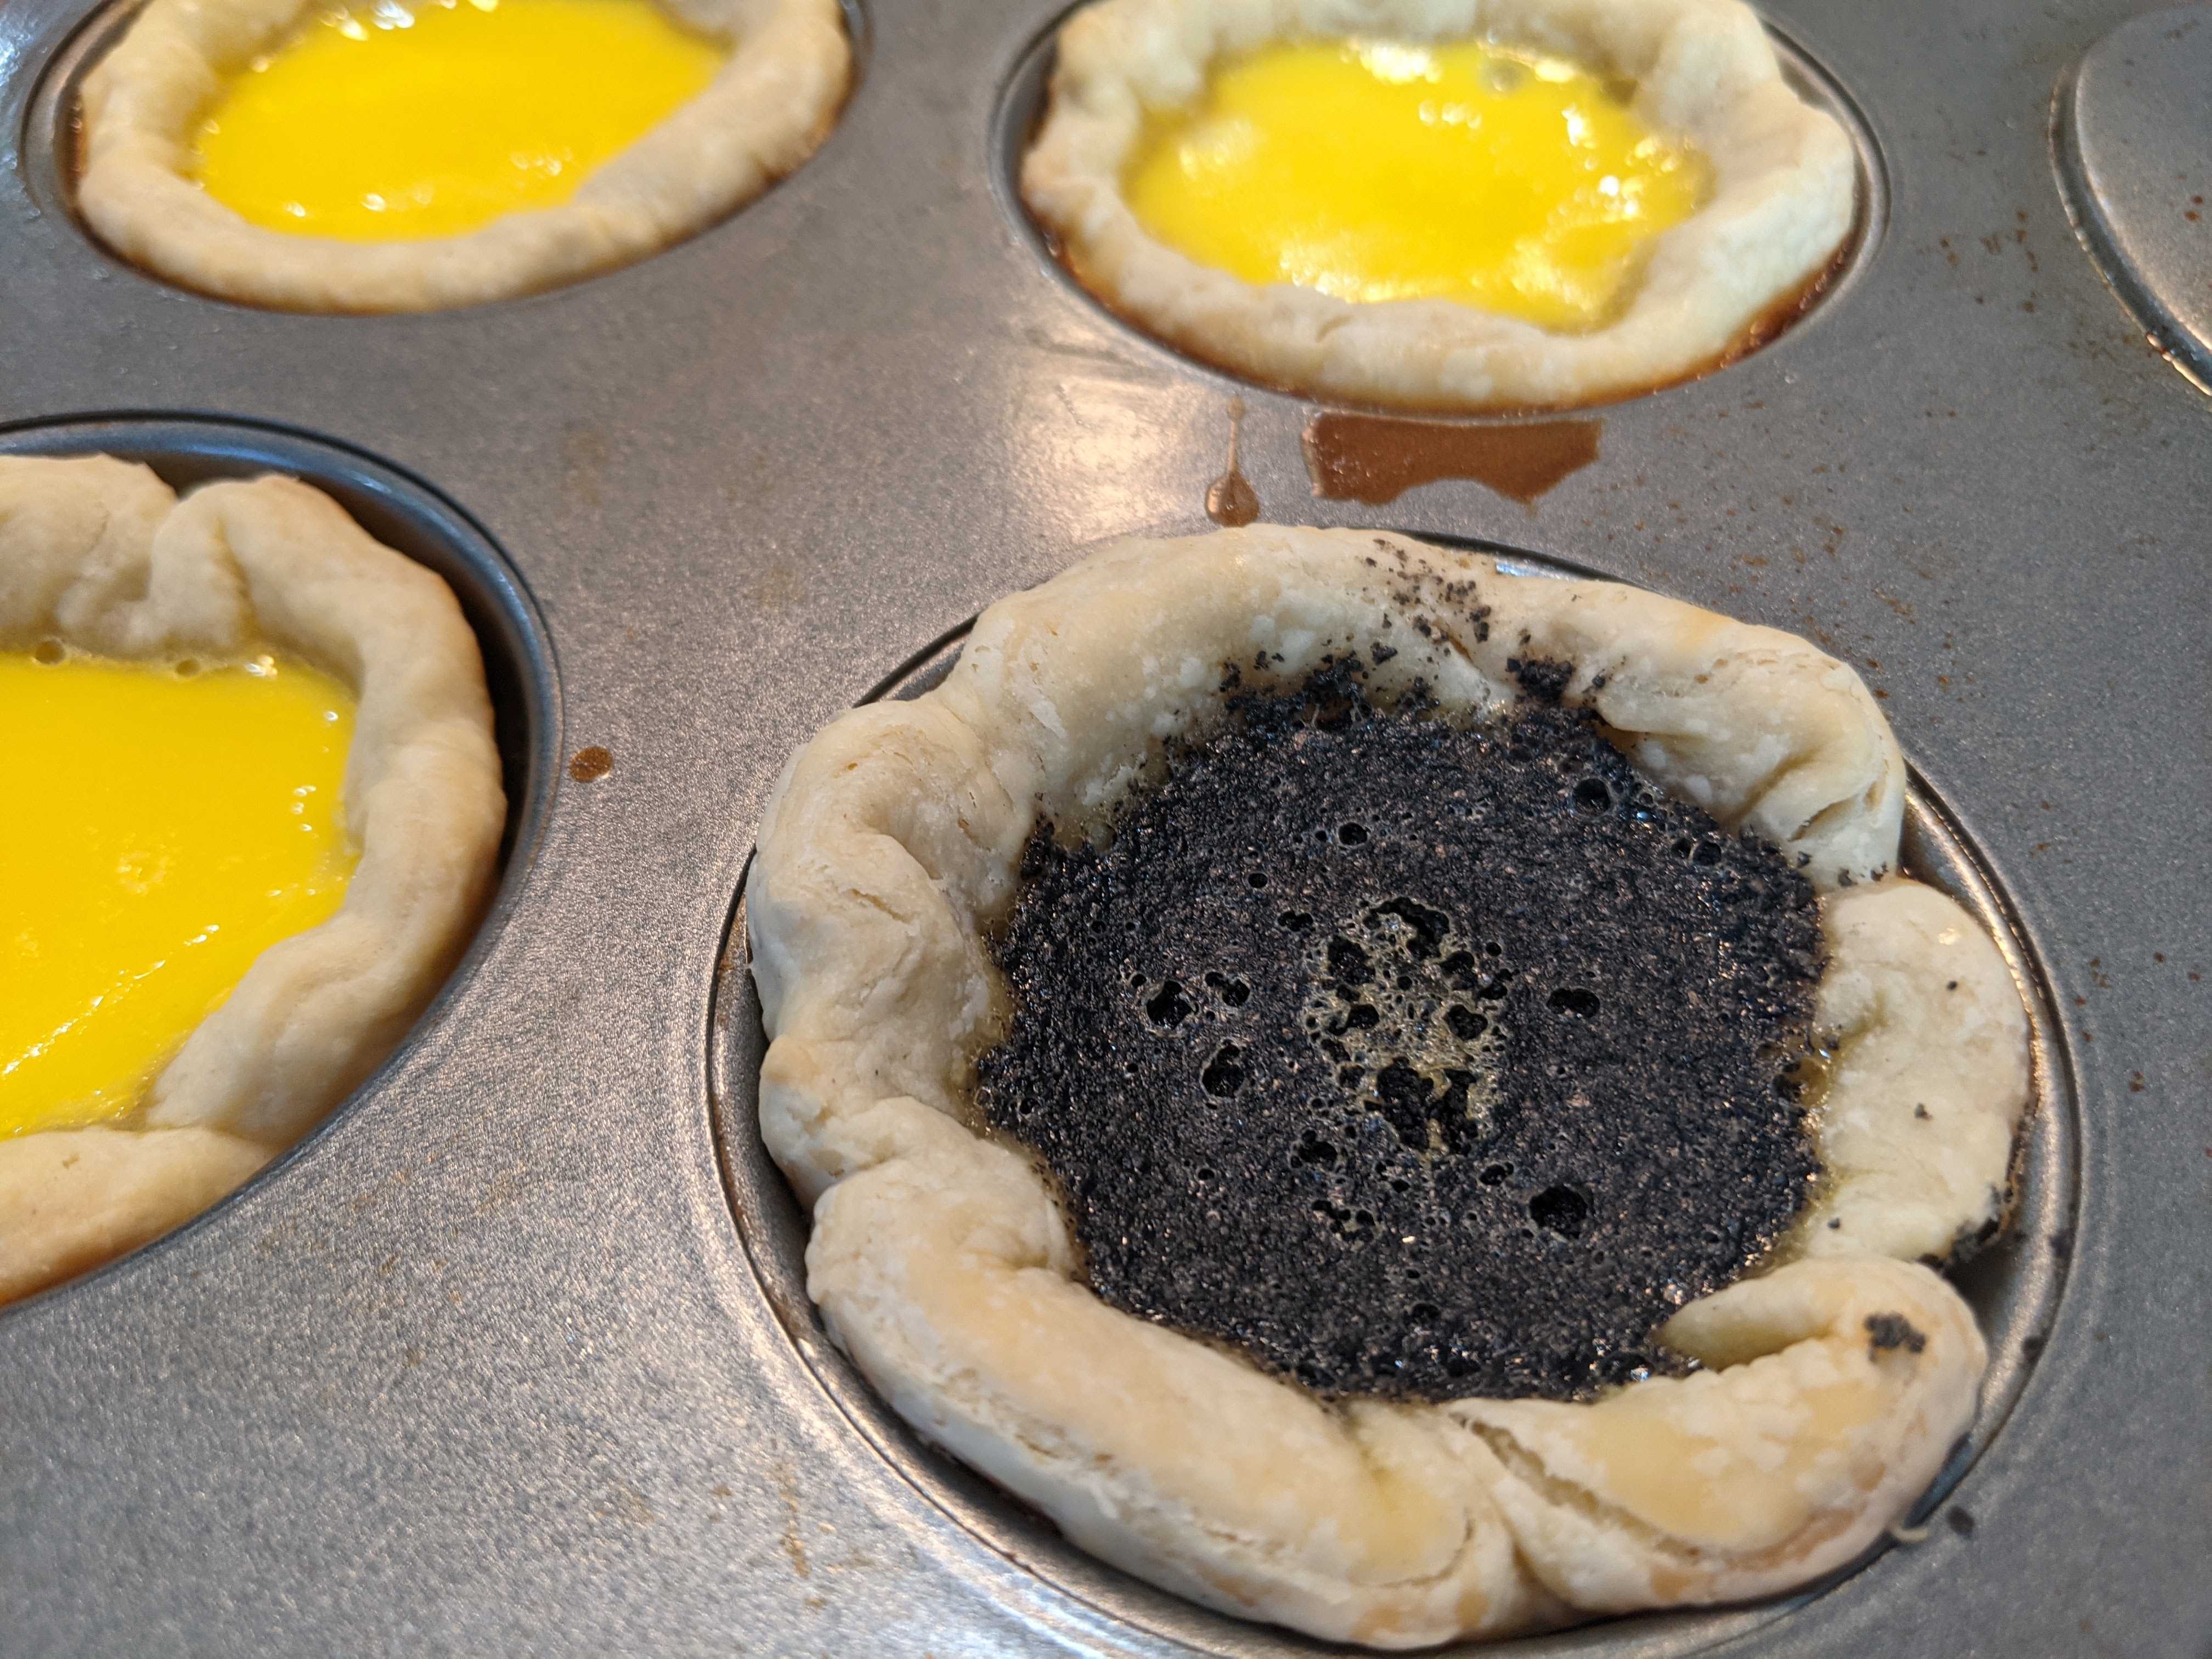
Proof Positive
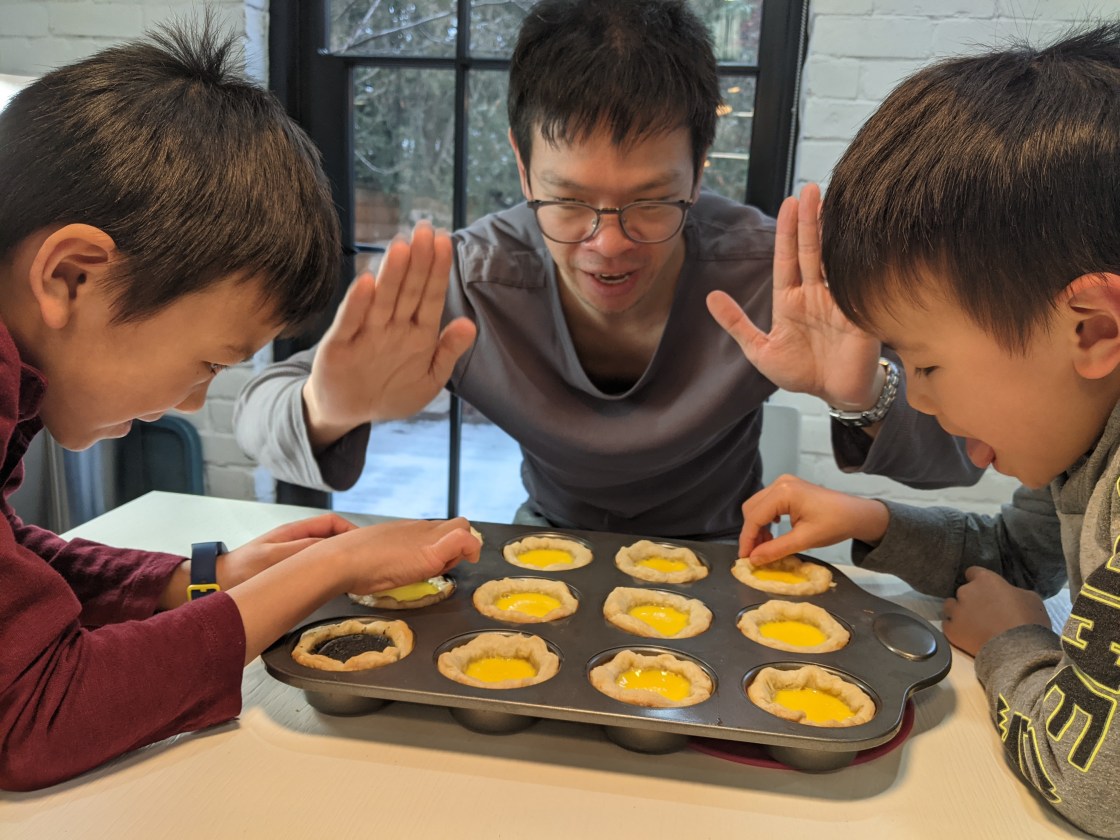
The final results were a hit with the family. The black sesame added a nice dimension to the egg tart, though before trying it again I might have to think about a way to keep it from separating. Not that I minded it, as the layering is actually pretty cool, but I think it might provide a more fulsome black sesame flavour profile. The egg tarts were quickly gobbled by the family, and I was able to indulge without any worry of my allergies. It was glorious and definitely will be giving this a go another time!


* Here’s the finished baked puff pastry Totoro.
